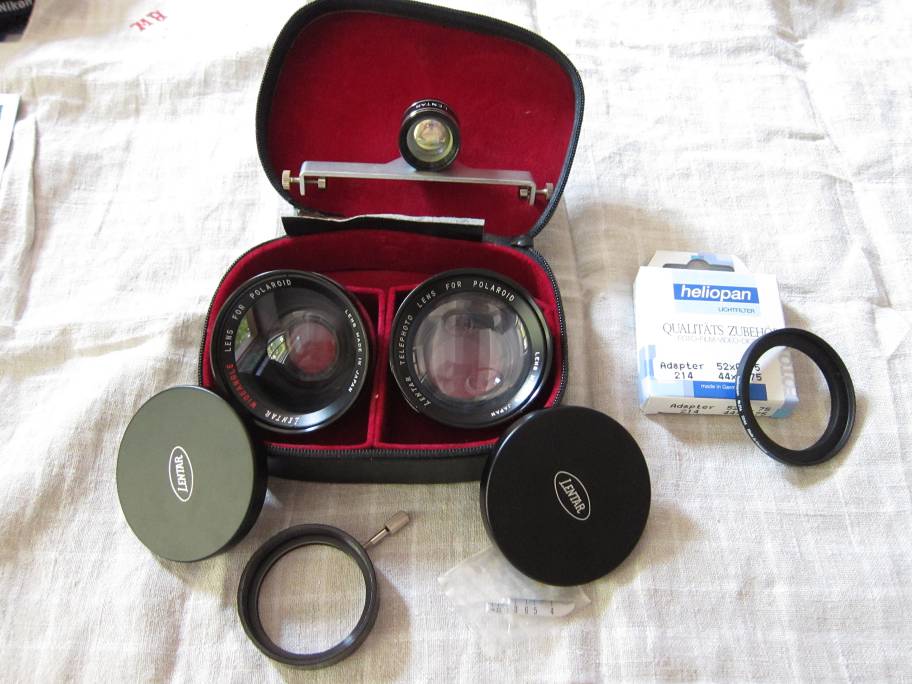
instantphoto.eu Lentar Tele and Wide Lens Kit for Pack 100 cameras
This page is the presentation of the tele and wide lens kit made by
Lentar. There are similar or identical kits under various names as
Kalimar and Sakar. This kit is for Pack 100 cameras.
The
kit with two lenses, adapter, viewfinder for better framing and a small
sticker for the distance indicator of the camera in case it has gone
lost (it is needed, see bottom of page). To the right is a Heliopan
44mm/52mm adapter, which screws into the Lentar adapter. So you can use
standard accessories.
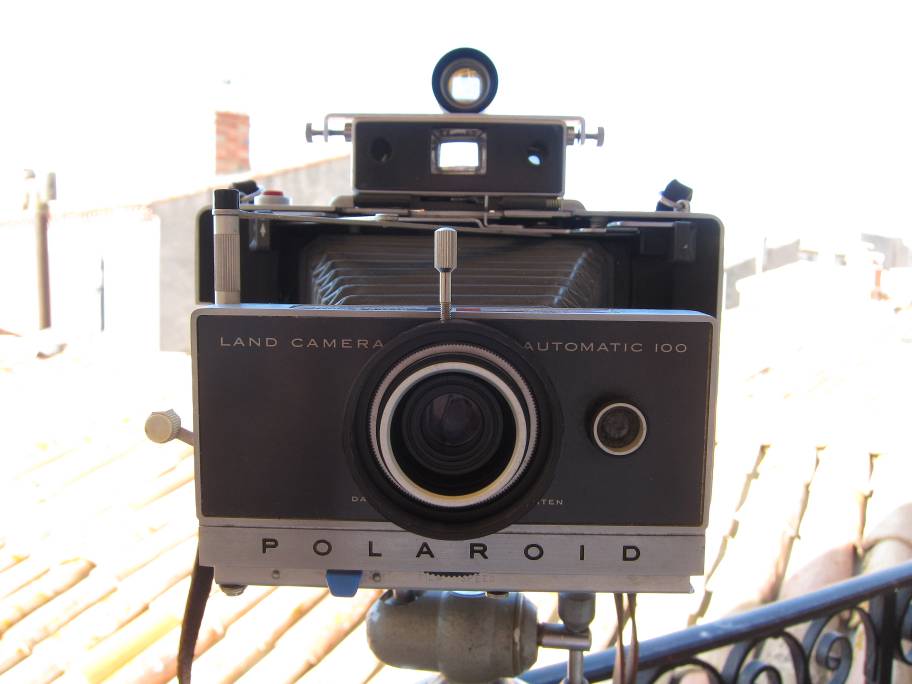
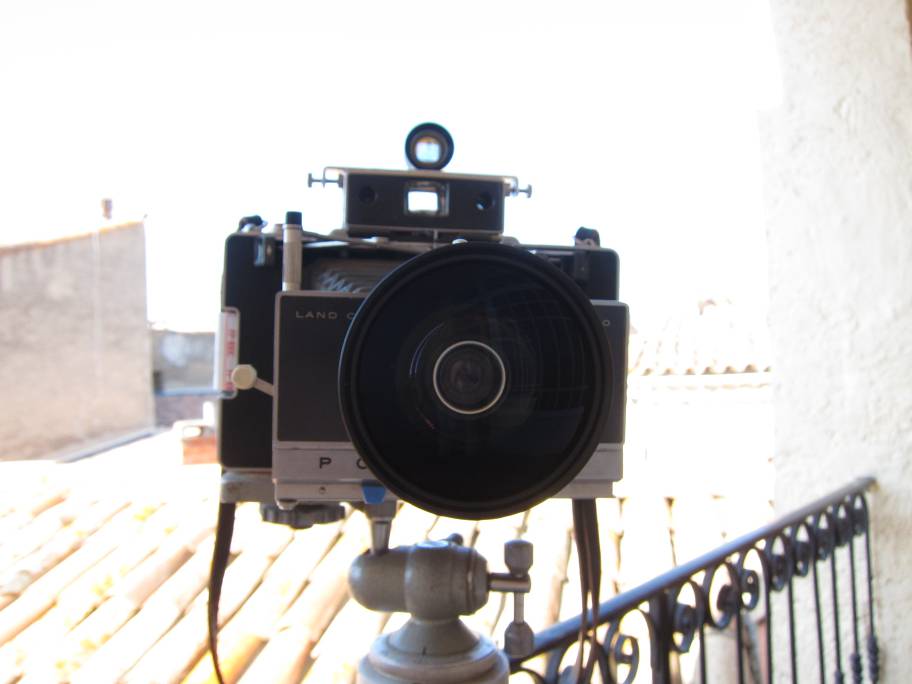
The adapter mounted on 100 camera. It's fixed to the metal ring around the optics via a screw.
With the tele lens, factor 1.5, which is not much.
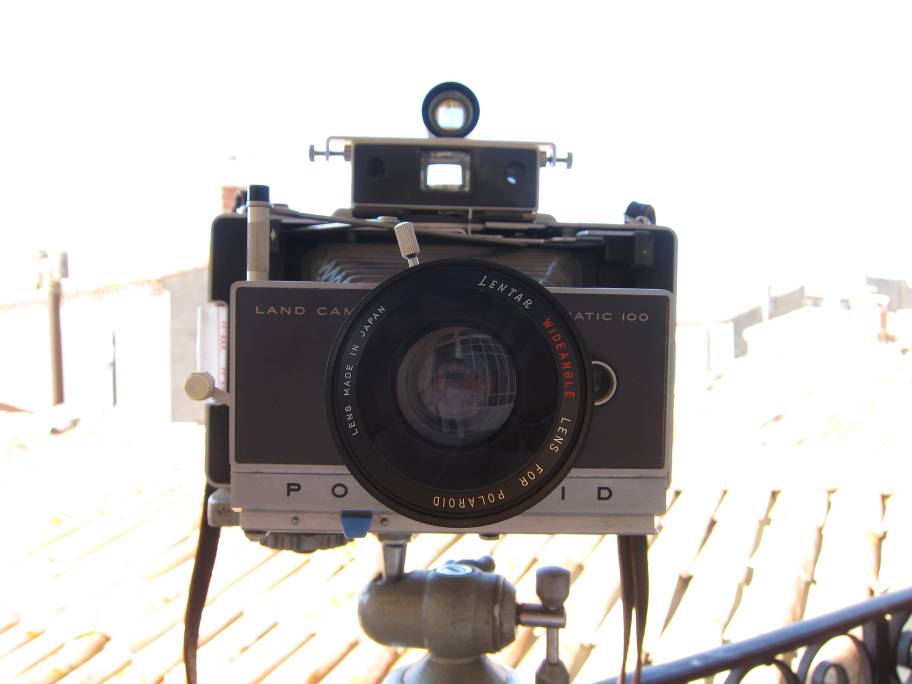
With the wide lens, factor about 0.8.
With
a Heliopan 44mm/52mm adapter, which is screwed into the Lentar adapter.
So you can use standard accessories. I chose 52mm as most of my
accessories are of this size. In fact the Lentar thread is not 44mm but
Bay Series VI which is close. The male 44mm screws into it very easyly.
However you cannot screw the Bay Series VI Lentar lens into a 44mm female
thread without forcing it a bit.
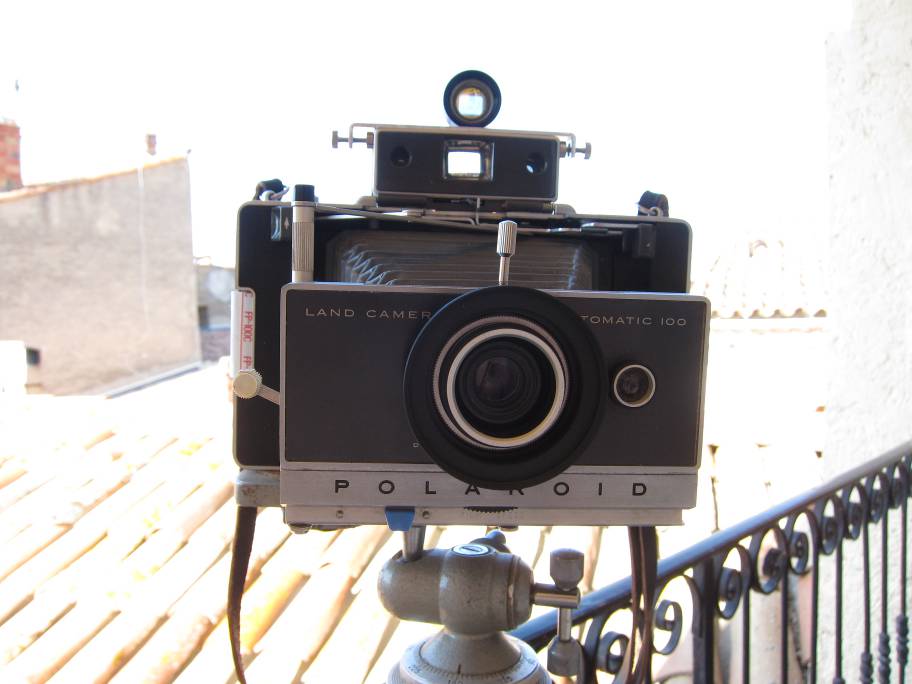
With the famous lens Nikon WC-e75. It has a thread size of 52mm. But you can put other accessories such as close-up lenses.
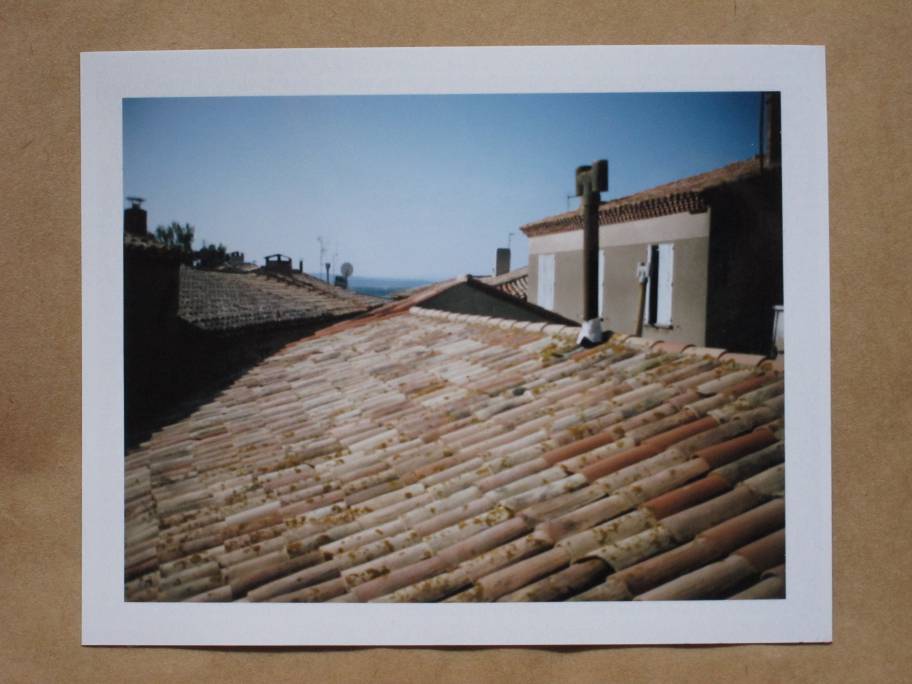
Normal view, without lens.
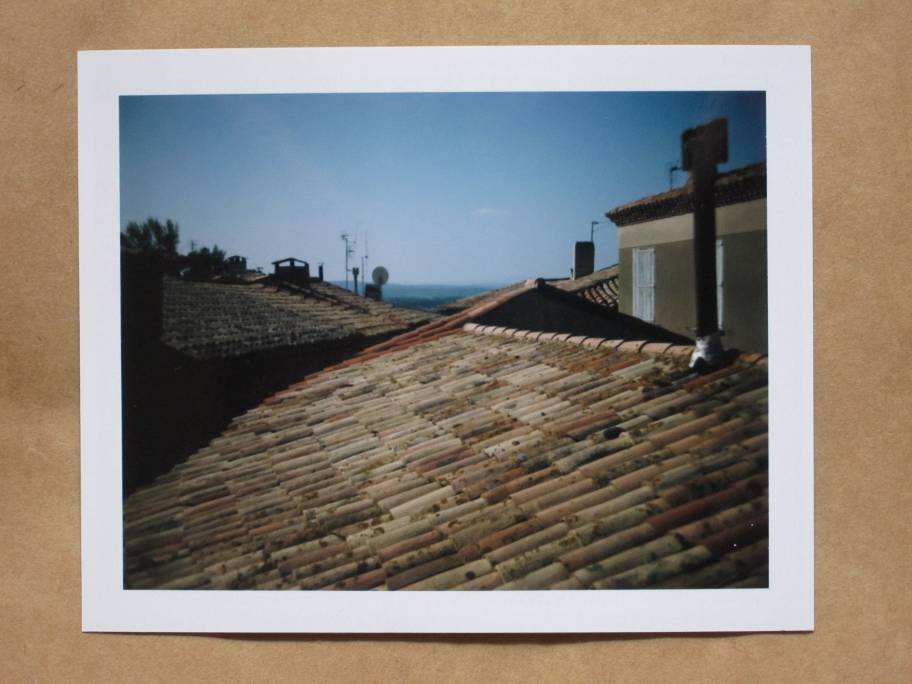
The tele view. You lose one grade of brightness.
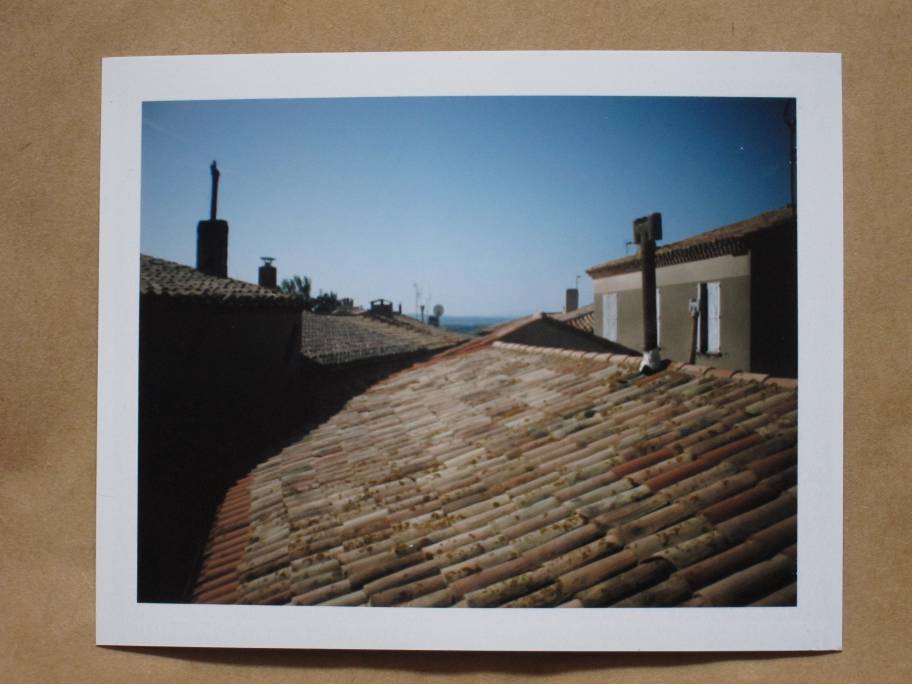
The
wide or wide angle view. You lose one grade brightness. The comparison
with the Nikon wide lens shows that the factor is 0.80, which is almost
the same angle, but not quite.
The wide view with the Nikon lens, factor 0.75. No loss of brightness.
So the adapter can be very useful. The lenses are not wonderful, but the result is quite correct.
For
the setting of the focus the procedure is a little bit slow. First you
have to focus with the camera's viewfinder. Then you must read the
figure on the distance indicator of the camera (that's why it's
presence is significant). Now refer to the indications that are listed
around the lens. Finally put the camera focus to the corresponding
value read from around the lens and the focus is fine.